 Skip to content


The Ultimate Guide to Fixing Blind Strings: Tips and Tricks for a Quick and Easy Repair


If the strings on your blinds are broken and the shades are completely inoperable, don't panic yet. You might be able to fix the blinds string yourself. In this guide, we walk you through how to lengthen and replace both the lift cords and the tilt cords on your window shades.
If the strings on your blinds are broken and the shades are completely inoperable, don't panic yet: You might be able to fix the blinds string yourself. In this guide, we walk you through how to lengthen and replace both the lift cords and the tilt cords on your window shades.
Should You Fix Your Blinds Yourself?
Before you take apart your blinds and fully commit to fixing them yourself, you need to determine if the DIY route is worth it. First, double-check the blinds' warranty and determine if they still fall within the warranty time frame. If they do, it's worth contacting the manufacturer or the retailer where you bought them to see if they will send you a replacement or another fix for your broken blinds.
You’ll Love Our Living Room Window BlindsEven if the blinds are out of warranty, you should still contact the manufacturer or retailer to see if they sell replacement parts. In order for the blinds to function properly, the repair cord or string needs to be the right match for the blinds, and the original manufacturer or retailer is your best bet for procuring that.
If the blinds are rather old or the exact replacement parts are otherwise unavailable, you can get the necessary materials at hardware stores and specialty online retailers. Make sure you specifically purchase blind cord and/or string, not just any twine. Blind cords are specially woven to be strong and smooth, so they have less likelihood of breaking or catching as you raise and lower the blinds. Ordinary strings might break, and you'll find yourself having to repair your living room window blinds all over again.
While fixing blind cords is usually pretty easy, in a small number of cases it might be more beneficial to replace the blinds themselves. If the string is so snarled it's impossible to remove, or if there are other problems with the blinds, such as broken slats in addition to the damaged string, then you might want to consider ordering replacement shades from Factory Direct Blinds instead. You can install them yourself using the many handy guides we have made available in our help center.
What's Wrong with Your Blind Strings?
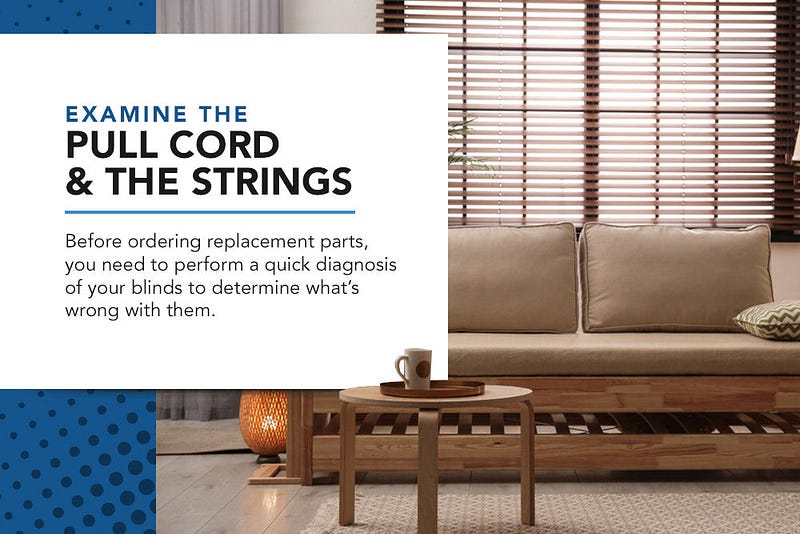
Before ordering replacement parts, you need to perform a quick diagnosis of your blinds to determine what's wrong with them. The first step is to examine the pull cord of the blinds, assuming you do not have a cordless model. The pull cord may have broken off, become snarled or jammed, or otherwise be damaged. Even if the other parts of your blinds are in perfect working condition, the blinds won't raise and lower if the pull cord is broken.
Looking for information about roller blind chains? Read more here.

Next, it's time to examine the strings that run through the slats of the blinds. Strings are most closely associated with wooden blinds, but they can also be found in pleated blinds, cellular shades, and other window treatments. These strings are what allow the blinds to be raised and lowered, so, if they become broken or snarled, they will render the dining room blinds inoperable.
In some cases, you might be dealing with both a broken pull cord and broken blind strings. Once you have determined the cause of your problem and obtained the proper replacement parts, check out the instructions below to fix your blinds.
Fixing a Broken Pull Cord

You will need the new pull cord, as well as a lighter and, potentially, some masking tape for this fix. Remove the wooden cap bead from the end of the cord and trim off any snarls so you have a neat end. Next, determine whether you are trying to lengthen the existing pull cord or if you are trying to replace the entire thing; if you are trying to replace it, skip to the next section. Many wood and mini blinds have two sets of cords, one to tilt the slats and one to raise and lower the blinds. The following method can be used to lengthen the cords on either set of strings.
Place the end of the new cord next to the end of the old cord. You can wrap masking tape around the ends to hold them together, or you can melt them together using a lighter or match. Light the ends on fire, and then immediately blow out the flame. Mash the ends of the cord together while they are still hot, taking care not to burn your fingers. You might need to wear sturdy work gloves for this part.
Trim the new pull cord to your desired length, thread the wooden cap bead back on, and tie a firm knot to hold it in place. Melt the end of the string once again with the lighter in order to keep it from fraying. Test the pull cord to make sure it won't break again.
Replacing a Broken Tilt Cord
If you need to replace the entire string on the tilt side of the blinds, the first step is removing the existing one. If you need to remove the pull cords that raise the blinds up and down, skip to the next section: The cords that raise and lower the blinds are the same ones that form the blinds strings and run through the slats, so those require a different approach.
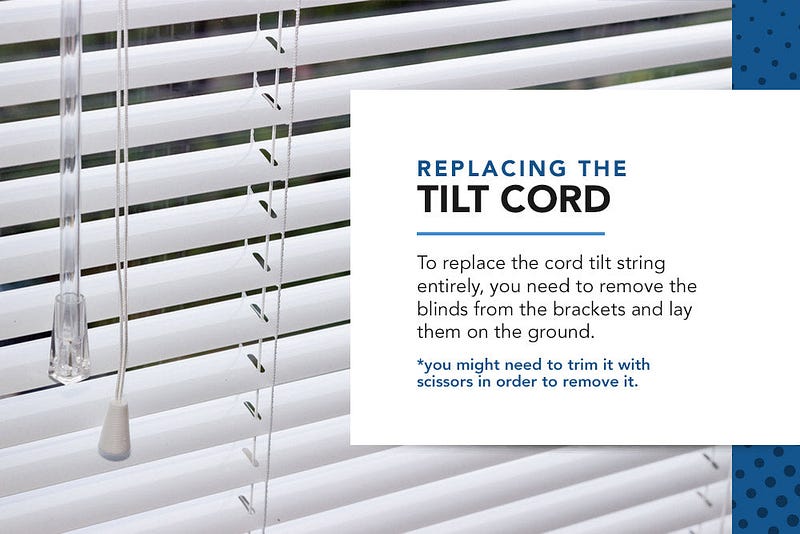
To replace the cord tilt string entirely, you need to remove the blinds from the brackets and lay them on the ground. Then you can gently remove the old pull cord from the cord tilt mechanism; you might need to trim it with scissors in order to remove it.
To replace the cord, take the new pull cord and tie a knot in the middle, and then insert the cord through the hole in the spool. Wrap one string around the spool in one direction and wrap the other string around the spool in the opposing direction. Insert the strings through the holes of the guide that forms the bottom of the cord tilt mechanism.
Test the tilt mechanism by pulling on first one string, then the other. Trim the new pull cord to your desired length, thread the wooden cap beads back on, and tie a firm knot to hold it in place. Melt the end of the string, once again with the lighter, in order to keep it from fraying. Replace the headrail of the blind in the brackets and then test the pull cord again to make sure it functions properly.
How to Prevent Future Damage to Your Pull or Tilt Cords
There are multiple accessories you can use to keep the blinds' cords out of the reach of children and pets. You can screw a plastic blind cleat into the wall and wrap the excess cord around that or use a blind cord winder to shorten the cord. Of course, you can also trim the cord yourself and reattach the wooden cap bead on the bottom.
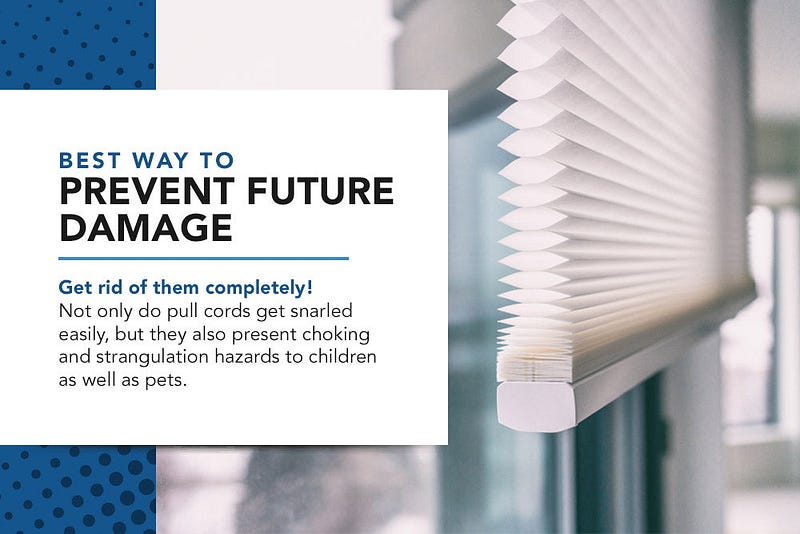
However, the surefire way to prevent future damage to your pull cords is to get rid of them completely. Not only do pull cords get snarled easily, but they also present choking and strangulation hazards to children as well as pets. If it's time to upgrade your blinds, then you should definitely consider cordless shades, which are operated by raising and lowering the bottom bar with your hand. You can say goodbye to those pesky cords forever with cordless blinds.
If you need help with how to fix your cordless blinds, we've got you covered with a guide for that too.

Fixing Blind Strings: Tips and Tricks, Basic & Advanced
When repairing your blind strings, there are two main approaches: basic and advanced. Basic repair jobs are less drastic – for instance, adjusting the tension of the strings that are too loose. Advanced repairs involve more complex tasks such as replacing a string.
Basic Repair Techniques
From time to time, your blinds may require small repairs like tension readjustment. To do this, follow a simple step-by-step process:
- First, open the blinds and take a look at the mechanisms located on the headrail. Locate the tilt mechanism and examine the small screws on either side of it.
- If the blinds are too loose and not staying in place when you tilt the slats, tighten the screws by turning them clockwise with a small screwdriver.
- If the blinds are too tight and difficult to tilt, loosen the screws by turning them counterclockwise with a small screwdriver.
- Test the tension of the blinds by tilting them to make sure they are at the desired tightness or looseness.
- If the blinds still need further adjustment, locate the lift cord tension mechanism.
- Adjust the lift cord tension by pulling the cord toward the center of the blinds and using pliers to turn the tension screw clockwise to tighten or counterclockwise to loosen.
- Test the lift cord tension by lifting the blinds to make sure they are at the desired tightness or looseness.
- If the blinds are still not at the desired tension, repeat steps 2-8 until they are adjusted to your preference.
- Once the desired tension is achieved, make sure to secure any screws or mechanisms that were adjusted.
It only takes a few minutes to make a basic repair, and it can save you time and money in the long run by preventing more serious repairs down the road.
Advanced Repair Techniques
Blind strings and pull cords are the same string: The lift strings run up through the headrail and become the pull cord. That's why blinds raise and lower when you tug on that pull cord! Before starting, examine your blinds to make sure you've identified the right lift strings.
Now you're ready to begin the replacement process:
- Study the way the original light string passed through the slats and the ladder strings, and take pictures for reference. Make sure the blinds are completely extended before beginning this task.
- Remove the small plastic cap on the bottom slat that covers up a hole.
- Identify the blind string and begin removing the old blind string, passing it back through the slats and unweaving it from the ladder strings.
- If the blind cord is snarled or tangled, you might need to trim it with scissors at intervals in order to be able to remove it entirely.
- Once the original defective blind cord has been completely removed, begin replacing it with the new cord. Thread the new cord through the holes in the blinds, weaving it over and under the ladder strings if you have wood blinds with slats.
- Continue this process until you have threaded the blind string through every hole in the blinds. Tie a retaining knot at the bottom so the string cannot slip back through the hole.
- Replace the plastic cap you removed earlier and give the new blind string a tug to make sure it will stay put.
- Thread the rest of the blind string through the headrail so it can become the pull cord. Be careful not to pull the blind string out of the blinds as you do this step.
- After threading the lift string through the drums in the head and the cord lock mechanism, pull it through the hole in the bottom of the headrail to form a pull cord.
- Match the ends of the old and new pull cords together and trim them to the desired length. Thread the wooden cap bead back on and tie a firm knot to hold it in place.
- Melt the end of the string, once again with the lighter, in order to keep it from fraying. Test the pull cord to make sure it functions properly.
There you have it – you've successfully replaced the faulty blind cord!
How to Prevent Future Damage to Your Blind Strings
Taking certain precautionary steps will help keep your blinds in good shape and prevent you from having to replace the cord again. Be careful when you raise and lower the blinds, making sure the strings don't become lopsided or snarled. If you have small children or pets that tend to tug on the blinds, keep them raised while they are around or move furniture in front of the blinds to provide an obstruction.
When it comes time to replace your blinds, you might want to consider choosing a different type of shades. While traditional designs, such as mini blinds and wooden blinds, offer a classic look, the slats do leave the strings more exposed and prone to tangling. A shade design that conceals the strings, such as a pleated shade or cellular shade, may be a better choice for your home.

If you're ready to get rid of strings completely, roller shades and roman shades do away with them completely. These fabric shades also come in cordless designs for a classy, child-proof window treatment that will safely provide the light control and privacy you need.
Time to Replace Your Blinds? Get in Touch!
If you've decided replacing your blinds is the way to go, check out Factory Direct Blinds' collection of competitively priced window treatments. Whether you're on a tight budget or in need of blinds for non-standard dimensions, we've got you and your windows covered. If you're looking to outfit a larger building with a lot of windows, check out our commercial blinds program for the most competitive rates on bulk orders.
FAQs
Got more questions about fixing blind strings? Here are some of the most frequently asked questions:
How do you fix a blind cord loop?
A blind cord loop can be easily fixed by tying a knot in the cord at the base of the loop. This will secure the ends and prevent them from slipping out of position.
How do you fix strings on horizontal blinds?
Horizontal blinds strings can be repaired by untying the knot on one of the cords and then re-tying it. Make sure to tie a strong knot when re-knotting so that it won’t come undone easily. In extreme cases, you may need to replace the entire string.
What is the string on blinds called?
The string on blinds is typically referred to as a pull cord or lift cord. It helps to raise and lower the slats of the blind.
Is it easy to restring blinds?
Restringing blinds can be a bit tricky, but it is definitely doable. It involves untying the knot at the base of the cord and then re-tying it in a specific pattern. If you’re new to this, there are plenty of tutorials available online that can help you get started.
Image Credits:
Titikul_B/Shutterstock.com
New Africa/Shutterstock.com
Zastolskiy Victor/Shutterstock.com

