Skip to content


How to Remove Roller Shades - A Step-by-Step Guide

When it comes to window coverings, roller shades are stylish and durable enough to last for many years. While you won’t have to replace them for a while, you may want to take them down from time to time in order to adjust or clean them.
Whether you’re new to roller shades or have never taken them down before, we have an easy step-by-step guide for you to follow.
Window blinds and shades also deserve their TLC. So, learn the best tips on how to remove roller shades removing rollers from start to finish so you can save time, stress, and energy while completing your DIY project or improving your interior décor.
IN THIS ARTICLE
BROWSE OUR EASY-TO-INSTALL ROLLER SHADES
Tools Needed for Removal
Window shades, whether they're roller shades or cellular shades, play a crucial role in enhancing the aesthetics of your home while providing privacy and light control. Roller shades offer timeless simplicity and versatility, while cellular shades, or honeycomb shades, provide excellent insulation for a comfortable indoor temperature.
Check out our Cellular Blinds Buying Guide for more information.
So, to ensure your shades stay in tip-top condition, regular maintenance and cleaning are essential. Proper care not only extends the lifespan of your shades but also keeps your living space looking its best.
But before delving into the process of removing roller shades, it's essential to gather the necessary tools. Having the right equipment at your disposal will make the task more manageable and ensure you don't damage your window or the shades in the process.
Here's a list of tools you'll need:
- Screwdriver: You may need a screwdriver to remove any screws or brackets holding the roller shades in place. Make sure you have both Phillips-head and flathead screwdrivers to accommodate different types of fasteners.
- Pliers: Pliers are useful for removing any stubborn hardware, such as wall anchors or brackets.
- Step Ladder: Depending on the height of your windows, a step ladder will help you safely reach and access the shades.
- Utility Knife: A utility knife can be handy for cutting any adhesive or tape that may be securing the shades to the window frame.
- Safety Gear: Safety should always be a priority. Wear safety glasses and gloves to protect your eyes and hands during the removal process.
- Measuring Tape: If you plan to re-install the roller shades, a measuring tape will be essential for ensuring accurate placement.
- Container or Bag: Keep a container or bag nearby to store screws, brackets, or other small parts to prevent them from getting lost.
- Assistant (Optional): Depending on the size and weight of the roller shades, having an extra pair of hands to help with removal can be quite helpful.
With these tools in hand, you'll be well-prepared to safely and efficiently remove your roller shades. Remember to follow the manufacturer's instructions and take your time to avoid any unnecessary mishaps during the process.
Preparing the Room
Before removing your blinds or shades, it's essential to set the stage by preparing the room. A well-prepared room not only ensures a smooth removal process but also safeguards your furnishings and keeps the area tidy.
Certain blinds, like faux wood blinds, are highly unlikely to break in normal use and can withstand wear and tear, but other blinds need more care. Feel free to browse our Faux Wood Blind Guide for more insights if you have faux wood blinds to deal with.
Generally speaking, the following steps are necessary for effectively removing roller shades and many other types of blinds:
- Moving Furniture Away from Window Frame: To create ample working space, start by moving any furniture, tables, or décor pieces away from the window frame. This not only gives you better access to the blinds but also prevents potential accidents and damage to your belongings. Be cautious when moving heavy items, and enlist the help of a friend if needed.
- Covering Floor with a Drop Cloth: To protect your flooring from dust, debris, or any accidental drops during the removal process, lay down a drop cloth. A simple drop cloth or plastic sheet will do the trick, creating a barrier between your floors and any potential mess. This step ensures an easier cleanup afterward, saving you time and effort.
- Opening Window Blinds or Drapery: Before you begin dismantling your roller shades, make sure to open your window blinds or drapery fully. This not only allows more light into the room but also prevents any interference with the removal process. Clear, unobstructed access to your roller shades makes the task more straightforward and lessens the chances of damaging other window treatments.
By following these preparation steps, you'll set the stage for a successful roller shade removal process. It's a proactive approach that ensures a clean and organized room, making your task smoother and more efficient.
Step 1: Determine What Kind of Shades You Have
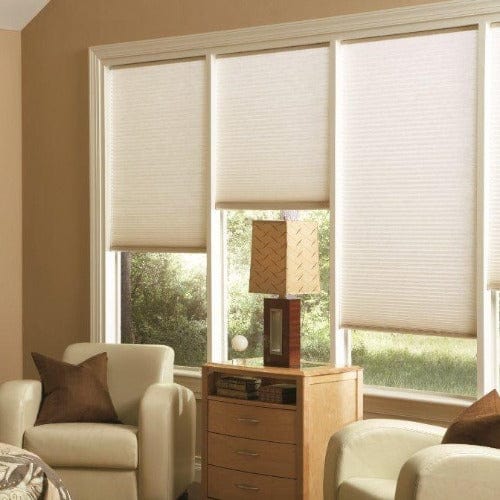
There are two styles of roller shades: Standard and Cassette. These terms refer to the type of headrail. To determine which type you have, look to the top of your shade. If you see a basic roller without an extra valance covering it, you have a standard roller.Cassette roller shades, on the other hand, have a box valance at the top. This feature covers the roller for interior design and style purposes and includes both the roller and the brackets inside a single unit. While cassette rollers take a couple of extra steps, both types of shades are convenient to remove and uninstall.
Step 2: Roll Up the Blinds & Uninstall the Cassette
First, roll your blinds up all the way to the top. This simple maneuver will make it easier to uninstall the roller hardware while preventing damage to the shade material. It's also advisable to tightly roll up or close the blinds and detach the safety clip devices from the wall before inspecting the bracket type.
Nevertheless, the specific procedure for uninstalling the blinds will vary based on the installation style (whether they are mounted inside or outside the frame) and the hardware in use.

If you operate your blinds using a pull string, gently pull the string downward to ensure the blind fabric is fully rolled up, simplifying the removal process for your convenience.
Should you encounter any issues with a damaged lift cord preventing the rollers from rolling up, you have the option to manually rotate the spool counterclockwise using your hands as an alternative method.
If your blinds have a cassette headrail, you’ll need to take it off the window or wall. Some cassette shades only require you to remove the headrail with your hands.
With other cassette roller blinds, you’ll need to remove the brackets with a screwdriver. Pry each bracket away with your tool, then remove the screws. Next, it’s time to remove any safety features.
Step 3: Remove Safety Clamps & Remaining Screws
Some roller shades have a pulley chain. If your window coverings include them, you’ll need to locate the chain safety clip. It’s usually attached to the wall near the lower part of the window covering. Remove screws with a screwdriver and take it out of the wall.
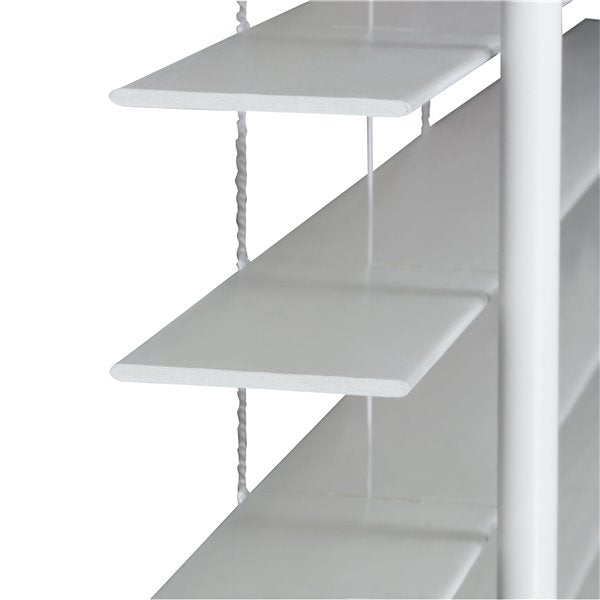
If you have a standard roller blind, locate the brackets that hold the roller in place. Remove any bracket covers, then see which side of the brackets has the safety clamp.
One side should have a post that holds the roller in place, while the other has a curved lock or clasp. Lift open the C-shaped lock, then gently remove the roller device out of the brackets. Now that you’ve removed the roller from its housing, grab your screwdriver. You’ll need it to remove the remaining screws from the brackets.
GRAB OUR BESTSELLING BLINDS NOW
Step 4: Save Hardware & Screws
Once you take out all of the screws, place them in a plastic bag or reusable container with a top. Labeling the bag will help you remember where the screws belong. You can also put them in a drawer for safekeeping until you re-install your blinds.
If you find that any screws are in disrepair, make a note of their shape or type. You may even choose to take a picture of them to save on your smartphone. Visit a hardware store or shop online for replacements.

Removing or Replacing Roller Shades the Easy Way
To most homeowners, installing roller shades is pretty straightforward. Thankfully, knowing how to remove roller shades is just as simple. Prepare yourself with the right hardware and tools, like a Phillips head screwdriver and a set of plastic bags.
Next, give yourself enough time to focus on uninstalling the blinds with care. In just moments, you should be able to remove your shades to repair, alter, or wash.
If you’re searching for a new set of window coverings, we have a variety of beautiful and high-quality roller shades for every home. Choose from light filtering or blackout shades in dynamic vinyl or classic fabric. Solar screen shades will keep glare and heat out in the summer and operate just like regular rollers.
Looking for a new design or style? We have everything from bold and elegant Roman shades to functional and trendy cellular blinds.
Whether you want to go cordless or are interested in unique prints or colours, you’ll have more time to shop. It’s just another way to save time and stress in your search for the perfect blinds.
FAQs
How do you remove roller shade cover?
To remove a roller shade cover, gently detach it by carefully unclipping or unscrewing the cover from its brackets.
Can roller shades be reversed?
Roller shades typically cannot be reversed since they have a fixed orientation for rolling up and down.
How do you remove roller blinds from brackets?
To remove roller blinds from their brackets, locate the release mechanism, usually found on the brackets, and follow the manufacturer's instructions to disengage and slide the blinds out.
Why won't my roller shade lockdown?
If your roller shade doesn't lock down, it could be due to a malfunctioning spring or mechanism. We recommend contacting the manufacturer or a professional for repair or replacement options.